As a student nurse practitioner, I had only ever applied and removed one fiberglass cast during a day of clinicals in orthopedics. The physician assistant I was shadowing allowed me to put a short arm cast on him, then had me cut it off with a cast saw with the oversight of the cast technician. It was interesting, then, when I was starting out as a new grad in orthopedic surgery. It was 2011, and there weren’t any hard and fast credentialing and privileging rules at my hospital system for nurse practitioners in orthopedic surgery.
I was requesting privileges to cast, splint, work as a first assist, etc., in addition to the “usual” privileges held by an inpatient nurse practitioner. I learned on the job, so to speak. My collaborative physician, an orthopedic surgeon, made his own intensive training program, which we documented along the way. Now, of course, at least in our area, you must show evidence of a completed formal training program for all hands-on skills, including splinting, casting, and first assisting.
Training for Hands-On-Skills
YouTube has a wealth of videos showing how to apply splints (and casts), so of course I watched many of those, and you should, too. You can see the different approaches taken by different providers, and you can see the different materials used to apply them, including fiberglass, plaster, and a material called Scotchcast™ (a product with knitted fiberglass fabric impregnated with polyurethane resin). All of these products are water-activated and can be used easily in a clinic or hospital setting.
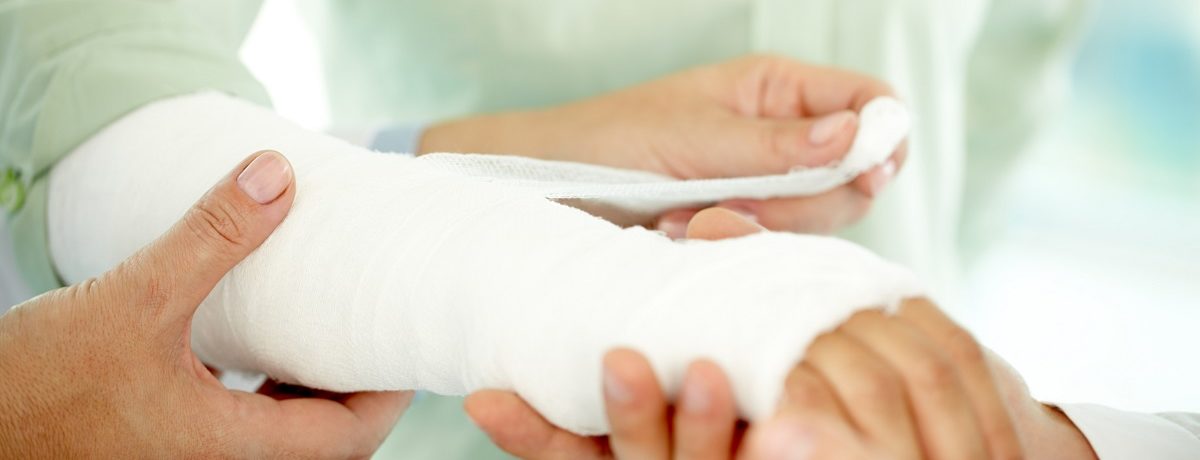
How do you apply a splint like a pro?
Here are 5 easy steps:
-
-
- Get all your supplies ready before you start. Measure your stockinette and cut to size. Have your cast padding (Web-roll), if needed, in the appropriate sizes. 2inch? 3inch? 4inch? Your splinting material (plaster, fiberglass, or Scotchcast™) will start to activate and set the minute the air hits it; water speeds up the process. So, you’ll want to be ready to go! Don’t forget your ACE wraps (for use with plaster and Scotchcast™ splints), likely in the same sizes as your cast padding. Do you need a piece of tape? Grab it now.
- Position your patient. If it’s a short arm splint, consider your patient’s ability to hold their arm in the air in the appropriate position. If their arm is larger or they are deconditioned, they may need help, and you may need an assistant. For a short leg splint, if the patient is able, you may prefer the patient lies on his or her stomach, so the knee can be bent and the leg held up. Otherwise, the foot can be placed on a cast stand to help hold proper position.
- Protect bony prominences and maintain function. Always provide adequate padding over bony prominences to prevent skin breakdown. With short arm and short leg splints, this includes (but is not limited to radial and ulnar styloids, the fibular head (the peroneal nerve wraps around near this landmark, and compression can lead to foot drop), the malleoli of the ankle, and the heel. Many splints are applied in a neutral position or a “position of function,” keeping in mind the immobilization of the injured joint or extremity does not prevent ALL use of said extremity. For example, short arm splints are usually only applied to the distal palmar crease (of the hand) to allow for full finger and thumb mobility, specifically opposition.
- Ensure ability to assess neurovascular status. While splints are usually removable, you still what to make sure you can assess neurologic and vascular status while the splint is in place, including sensation and motor function, as well as skin temperature and moisture, and capillary refill.
- Provide patient teaching and instruction. Teach your patient proper care for their splint, the underlying skin, and when to remove and reapply the splint. Ensure they are able to don and doff the splint appropriately, or if they are unable, teach a responsible adult to help them at home. Provide instructions about when to call your office/their provider. Make sure they are aware to never put anything inside the splint in order to prevent skin breakdown.
-
Consider Splinting Continuing Education Courses
Whether you’re in school to become a cast technician, medical assistant, registered nurse, nurse practitioner, or physician assistant, or are already experienced but about to start a career in orthopedics, or if you’re just looking for online continuing education courses with hands-on skills, consider checking out our new online course, Intro to Splinting with Scotchcasts! This Skills On Point course includes the materials you need and will teach you to perform a Short Arm/Volar Splint, Thumb Spica Splint, an Ulnar Gutter Splint, and a Short Leg/Posterior Splint. It’s a great course for those working in the emergency room, family practice, immediate care, or starting out in orthopedics!