

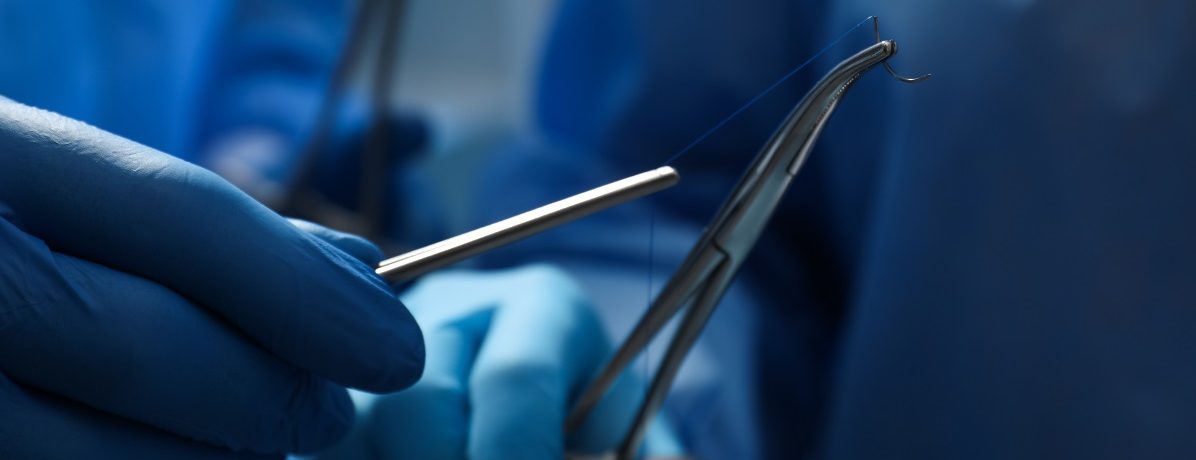
Some of the most commonly sought-after skills in our suturing and office procedures workshops is how to perform shave and punch biopsies. We routinely have a large audience following for these derm procedures sessions because knowing how to safely and quickly perform these biopsies certainly can make or break your day and not knowing which one to do at different times represents a considerable issue in primary care. Many people prefer to try shave biopsies when they really should be doing punch biopsies simply because they are afraid of how the wound will or will not look as nice since it goes deeper in the tissue. Here are simple steps and a few tricks to make sure the punch biopsy closure goes as well as the actual biopsy itself.
Steps to Closing a Punch Biopsy
Step 1: it begins with the biopsy
If you just perform around punch biopsy, you will quickly find that the edges do not lay flat when you approximate the edges. This upward bunching of tissue is called a dog ear, and should be avoided at all costs for the sake of cosmetics as well as proper technique. One of the best ways to guarantee that you won’t have any issues with this round hole lying flat is to first pull some tension on the sides of the biopsy before you perform the punch so that when you relax the tissue it actually lies into an ellipse, not a round hole. (Think of this like performing Z-track while giving an intradermal injection).
Step 2: use the Lines of Langer to your favor
There are these mystical lines called the Lines of Langer that simply represent the natural folds of the skin on the normal human anatomy. A simple example of this would be to look at somebody’s forehead wrinkles; they will always run horizontally with the body from left to right not up and down on the forehead. If you had intentions of pulling a wound together with a small punch biopsy or even a simple laceration for that matter, the best case scenario for a minimally visible scar would be to hide it in one of these naturally occurring lines of the body. As well, the connective tissue has a tendency to be more forgiving when you’re working along these lines because there already designed for your range of motion to have a bit of stretch where the opposite direction 90 degrees to these lines do not have this extra mobility.
Step 3: fight the urge to do a simple interrupted stitch
The most useful technique for this is called the figure of eight stitch. Now before you get excited and tell me this is an ugly technique and why would I want to do this, I will mention that for those who are not familiar with the figure of eight stitch, think of two simple interrupted stitches in sequence that create what appears to be a figure of eight. on one side of the wound, you will have and X , and on the other side you will have two straight lines. The side that has the X , much like a crane with a four point claw to pick up cars in a junkyard, will have the tendency to evert and pucker tissue, but the other side that has the two straight lines will have a fairly linear approximation.
It just so happens that if you do this technique upside down , you actually do the perfect scenario for closing a deeper vertical column of tissue. You get a axe on the bottom of the wound which is at the level of the dermis and where your scar comes from if you do not get good approximation, and on the top of the skin, you get 2 linear suture lines which pull the round or elliptical punch biopsy (depending which technique you employ of using the Z-track trick above or not) together in a crisp, clean , zero dogear fashion.
Step 4: do not go wider than the hole you create for this trick to work
Although a figure of eight typically looks like an X, realize that for this particular trick it’s important that you do not go wider than the farthest lateral dimensions of your punch biopsy. This simply means that you have to imagine a 5 millimeter punch biopsy for example to have the width of the X no more than 5 millimeters wide. The distance away from the punch biopsy in the directions of approximation do not require this particular restriction, but if you practice this a few times, you will realize just how beneficial this trick is and how flat your punched biopsies will lie with one, simple, pain-free technique.
With this simple trick in mind, you too can have expert-level wound closure with a punch biopsy and know that your patient is going to benefit from a minimal scar, zero dog ear closure!
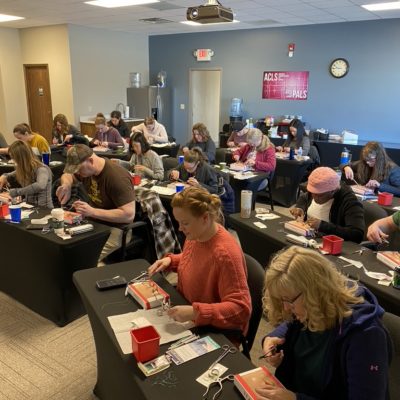
If you want to see some awesome videos of this technique, check out the Online Family Practice Skills Workshop at Skills On Point and you can learn this as well as many other valuable office procedures and suturing skills from the convenience of your own home!